Create and Send Email Campaigns
To create an email campaign, you must be an Admin user, or you must have the Can edit campaigns permission enabled in Staff Member settings.
For email marketing ideas and examples, including templates you can use, visit our blog.
Link copiedCreate and send an email campaign
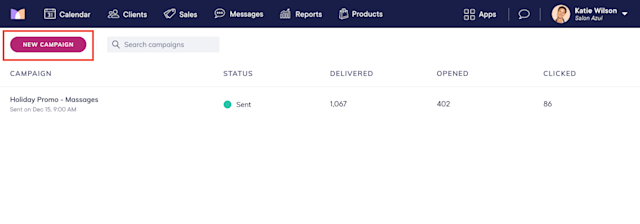
To create an email campaign, open the Campaigns app and select New Campaign.
Link copiedSettings
In the Settings tab of the email builder, update the email settings including the subject line and recipient list.
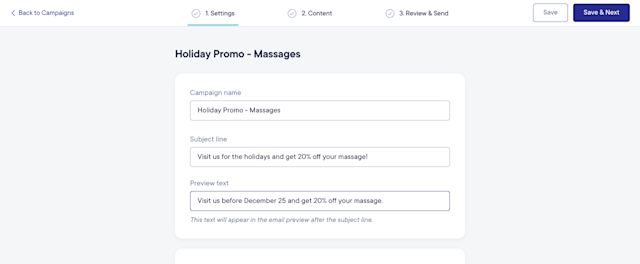
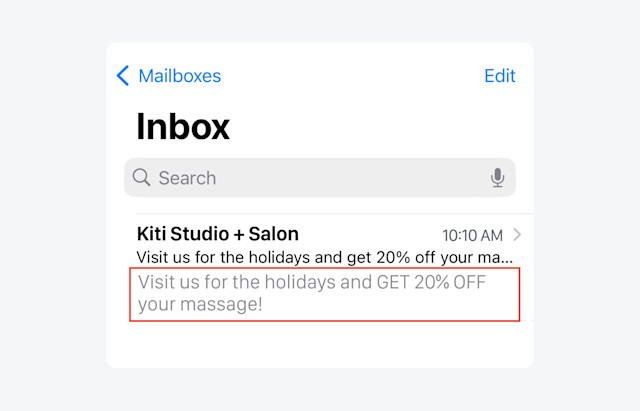
Select Advanced Options to set the Preview text if needed. This text is displayed directly below the subject line in the recipient’s inbox, as shown below.
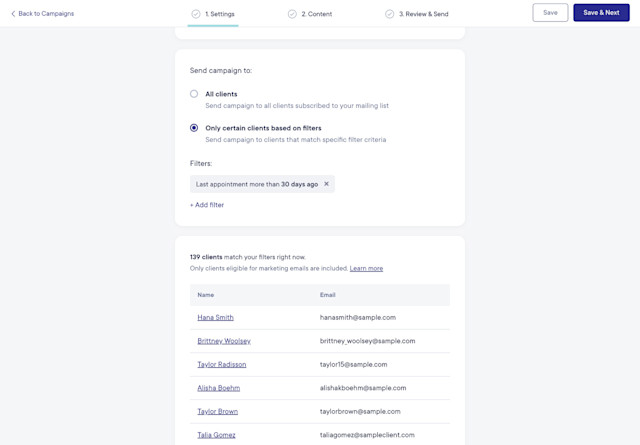
In the Send campaign to section, specify the recipient list for the email. This section allows you to select from all clients, regardless of client ownership or your permissions.
All clients: Select this option to send the email to every client who is eligible for email campaigns.
Only certain clients based on filters: Select this option to only send the email to clients who match specific filters.
Once you specify the recipient list, you can preview the clients who will receive the email. The email will only be sent to clients who match the criteria now, not clients who will match the criteria at the time the email is sent.
Link copiedContent
In the Content tab of the email builder, build the email by selecting a template or starting from scratch. To learn more about how you can build your email, watch our on-demand Email Builder Tips & Tricks video.
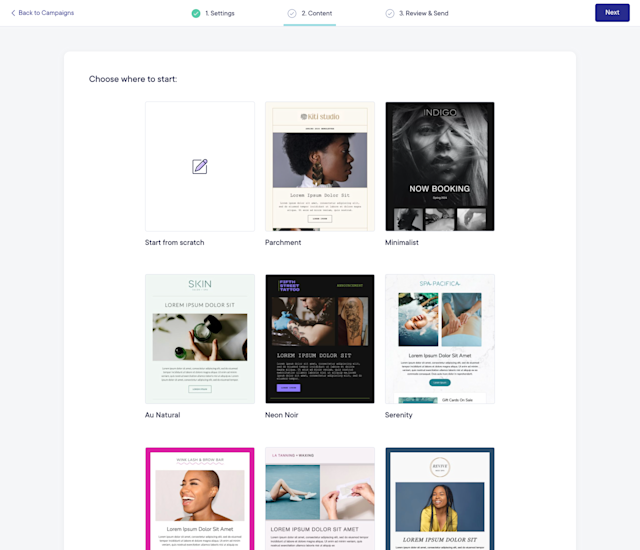
When building your email:
Make sure you update any social media links with your unique social media links.
Merge tags can be used to personalize the email for each recipient. For example, when the email is sent, the First Name merge tag is replaced with the client’s first name and the Business Address merge tag is replaced with your address from Apps > Settings > Business Setup > Locations.
Special links can be used to add an unsubscribe link. Unsubscribe links are required to send an email campaign.
After building an email, you can duplicate the email if needed. This allows you to easily send similar emails without having to recreate the same email every time.
Link copiedReview & Send
In the Review & Send tab of the email builder, you can send the email immediately or schedule it to be sent at a later date and time.
By default, email campaigns are sent from the mangomint-email.com domain. Learn how you can send emails from a custom email address.
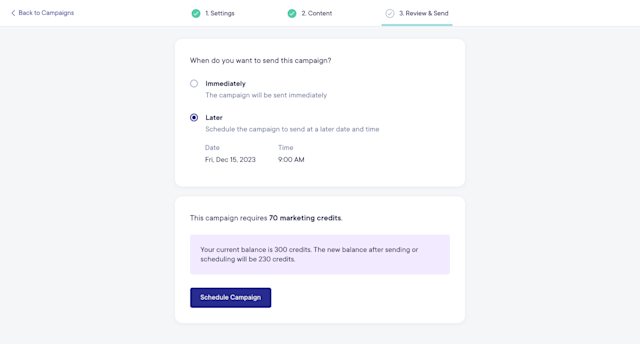
To send or schedule an email:
You must be an Admin user, or you must have the Can send campaigns permission enabled in Staff Member settings.
You will need a Contact email address in Apps > Settings > Business Setup > Locations. This email address will be used as the reply-to address.
You will need marketing credits. Each client on the recipient list requires 1 marketing credit. For example, you can send an email to 200 clients for 200 credits. If you are the billing user for your account, you can buy credits from the Review & Send tab and your Subscription page.
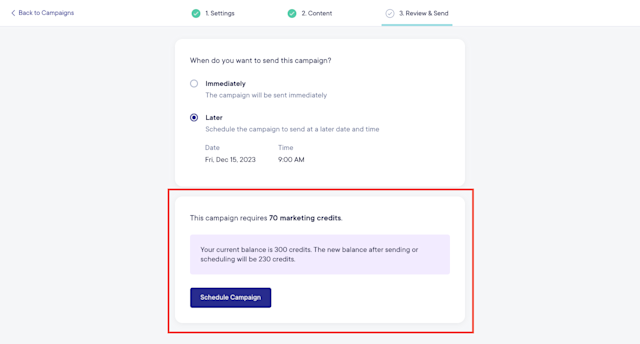
After an email is sent, you can view the email's performance, such as how many emails were delivered, opened, etc.

Can't find what you're looking for?
with us to talk to a real person and get your questions answered, or browse our on-demand videos.