Sending Emails to Your Clients Using Mailchimp
After setting up your Mailchimp integration, you can send emails to your clients using Mailchimp.
Learn how to send emails to your clients who have an active membership.
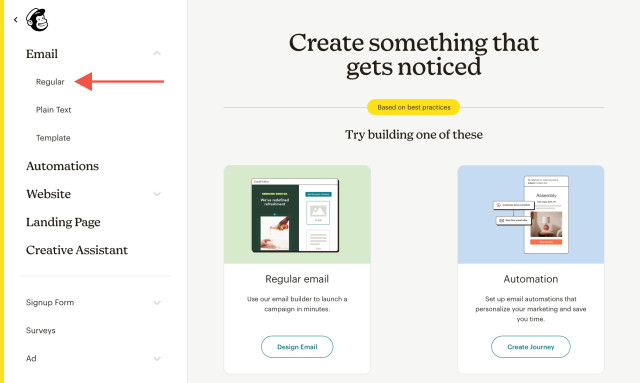
To send an email to your clients using Mailchimp, open Mailchimp and click Create.

Select Email > Regular.

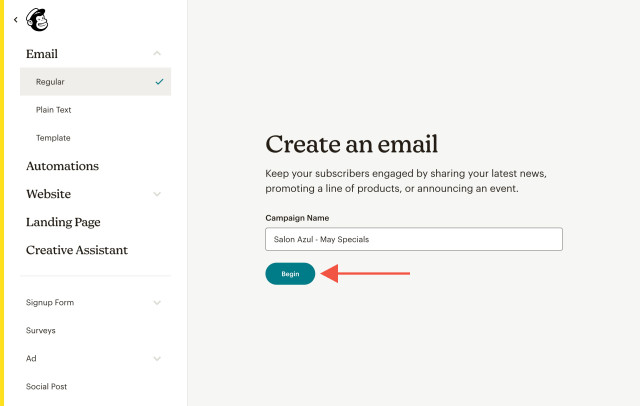
Enter your campaign name and click Begin.

Select an email template and build your email.
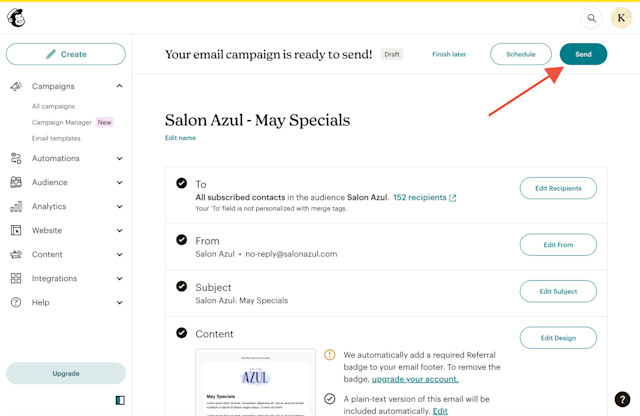
In the To field, specify the audience who should receive the email.
After you’ve completed the To, From, Subject, and Content sections, you should see a checkmark next to each section. This means the email is ready to schedule or send immediately.
Click Send to send the email to your clients.


Can't find what you're looking for?
with us to talk to a real person and get your questions answered, or browse our on-demand videos.