Adding and Deleting Clients
You can add new clients in the Clients app and when creating an appointment from the calendar.
Clients will also be added to your client list when they book appointments online. This also includes clients who do not finish booking their appointment online after being prompted for their credit card information or a pre-payment/deposit.
Link copiedAdding new clients in the Clients app
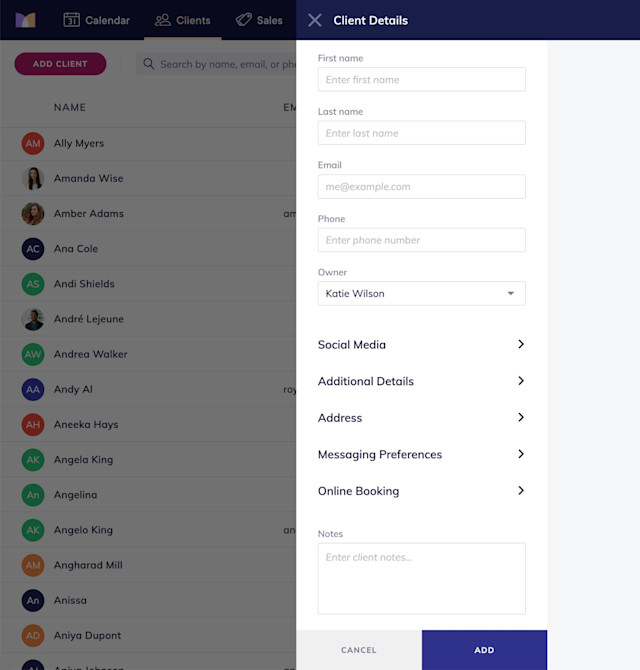
To create a new client in the Clients app, select Add Client.
If client ownership is enabled, you can select the staff member who "owns” the client from the Owner dropdown.
Learn more about the client details you can add for each client.

Link copiedAdding new clients when creating an appointment
To create a new client from the calendar, enter the client's name and select Add Client.
Once you enter the client's information and select Create, the client will be added to your client list, even if the appointment isn't created.
Link copiedDeleting clients
Deleting a client cannot be undone.
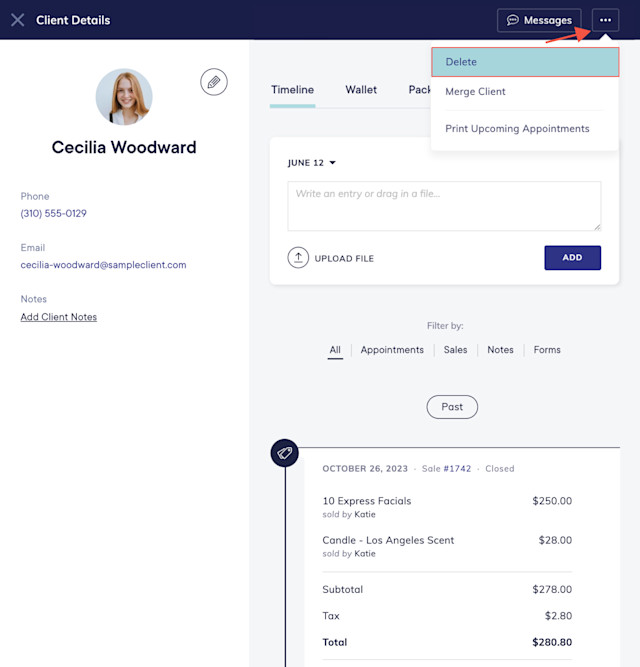
To delete a client, open the Clients app and select the client.
Select Delete from the "..." menu.


Can't find what you're looking for?
with us to talk to a real person and get your questions answered, or browse our on-demand videos.