Using the Virtual Waiting Room
This article covers how to use the waiting room when clients are checked in from the calendar. Learn how you can use the waiting room when clients check in themselves using Client Self Check-In.
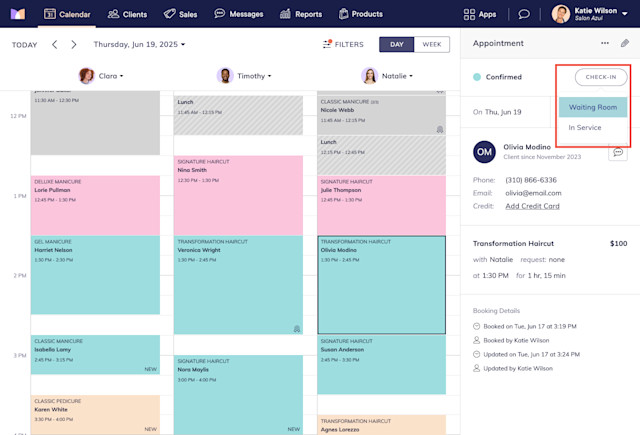
To check in clients to the waiting room from the calendar, select Check-In > Waiting Room.
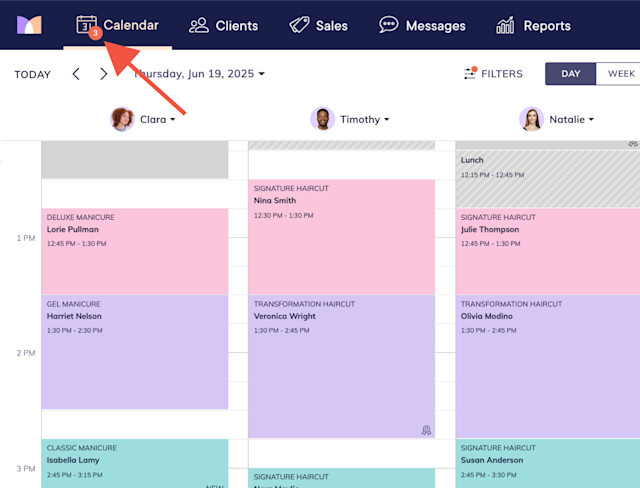
On the calendar, appointments that are waiting are displayed in purple. The Calendar tab will also display a badge with the number of clients who are waiting.
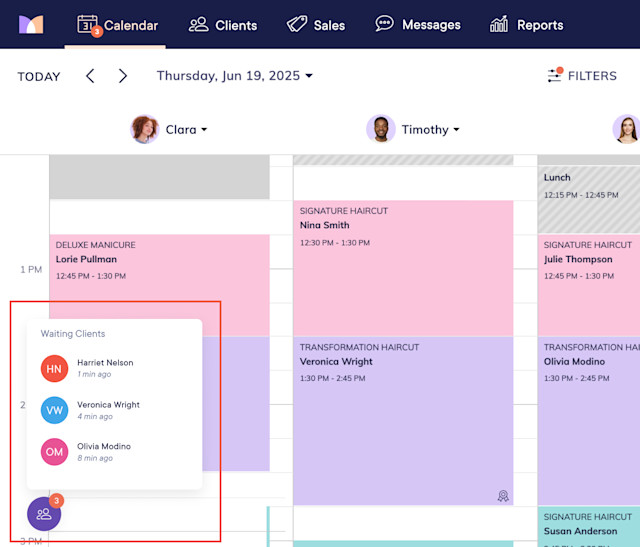
To see the list of clients who are waiting, select the purple button in the lower-left corner of the calendar.
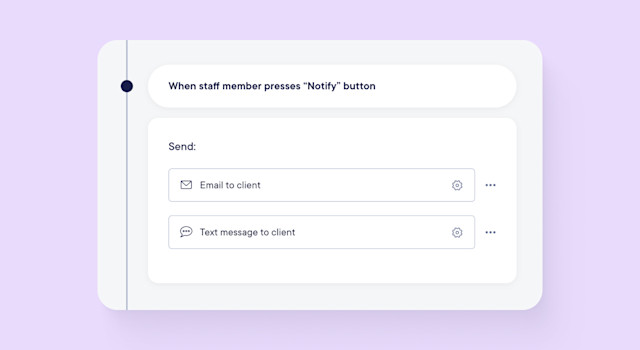
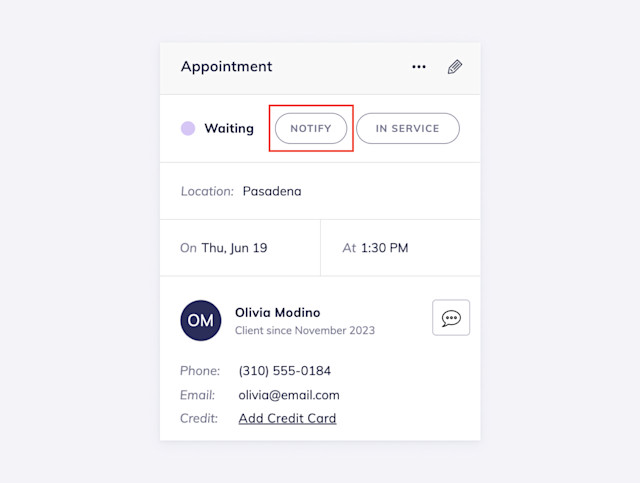
Once a client's service provider is ready, you can notify the client by selecting Notify. This allows you to easily notify clients who may have been waiting outside.
The Notify button will only display if the When staff member presses "Notify" button automated message is enabled in the Settings app under Automated Messages > Check-In Process.

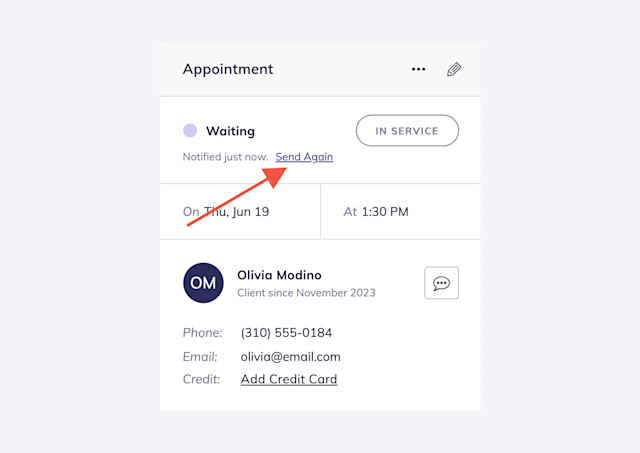
If you need to notify the client again, select Send Again.
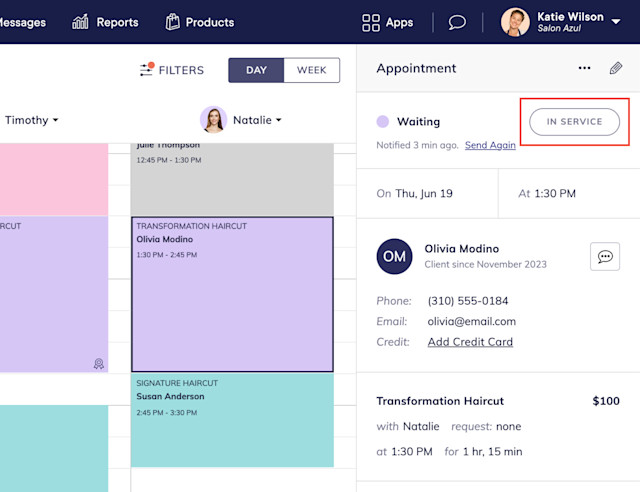
When the appointment is ready to begin, select In Service.
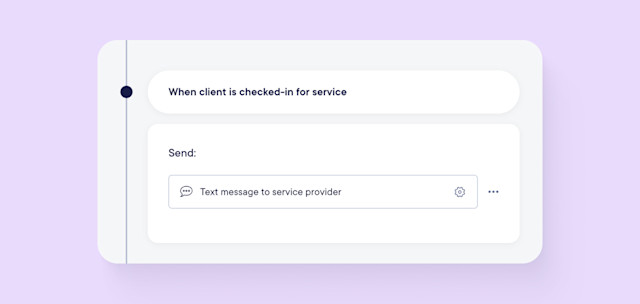
When you select In Service, you can notify the service provider that their client is ready by enabling the When client is checked-in for service automated message in the Settings app under Automated Messages > Check-In Process. You can also disable this automated message for individual service providers.

Can't find what you're looking for?
with us to talk to a real person and get your questions answered, or browse our on-demand videos.